
Waterfall Photography
While people tell me that I take good photos, I know that I still have lots to learn. I'm no professional!
At the same time, I've learned a lot by shooting waterfalls for many years. Hopefully there are some tips here that can help you.
Remember, photography is subjective. What works for me might not work for you.


Repeat this statement out loud: "I do not need an expensive camera to get better photos!"
While it's true that more expensive cameras are often behind the very best photos, you can take great photos with your phone camera. Photographers have never had it so good.
My advice to beginners is to use what you have first. Learning is free. If I went and bought a $17,000 oven, my meatloaf wouldn't suddenly taste any better.
Here are some easy steps that beginners can take to improve their photos of waterfalls, or of anything else for that matter!


No two photos of a waterfall are the same. Conditions change through the seasons, and even through the day. 'When you shoot' can make a huge difference in how your photo turns out.
Experienced waterfallers eventually learn that bright summer days often aren't the best time for waterfall photography. Bright sun can create harsh shadows. Even expensive cameras aren't perfect; your photo may have underexposed or overexposed parts.


Many online waterfall guides recommend that you try to photograph waterfalls on cloudy, overcast days. The lack of direct sunlight results in more evenly distributed lighting.
The lack of shadows and more even exposure gives a more pleasing result. This is especially important in the woods, where the sun can cast thousands of shadows over a waterfall.
But what most online guides don't mention is that there are still times when bright sun is actually favourable. Many of our larger northern waterfalls are out in the open, and so shadows aren't a concern. Incorporation of bright blue sky and cloud patterns can add lots of drama.

Many of us take our waterfall pictures while on summer vacation. Sometimes this is unavoidable, as not everyone has the privilege of visiting waterfalls whenever they feel like.
But when possible, many experienced waterfallers try to visit during spring and fall. Spring alway has the highest flows, though having too much flow can hide waterfall details. Fall has beautiful colour and soft light.
Shooting in winter can be rewarding. I tend to stick to vertical waterfalls in winter; falls with a a more gentle slope can be hidden in snow; there's often not much to see. Icy conditions can make trails treacherous, and many waterfallers buy crampons for their boots.

Composition is subjective. The tips provided here are some general rules that work in many situations, but not always. Give each of them a try, but change things up if it isn't working.


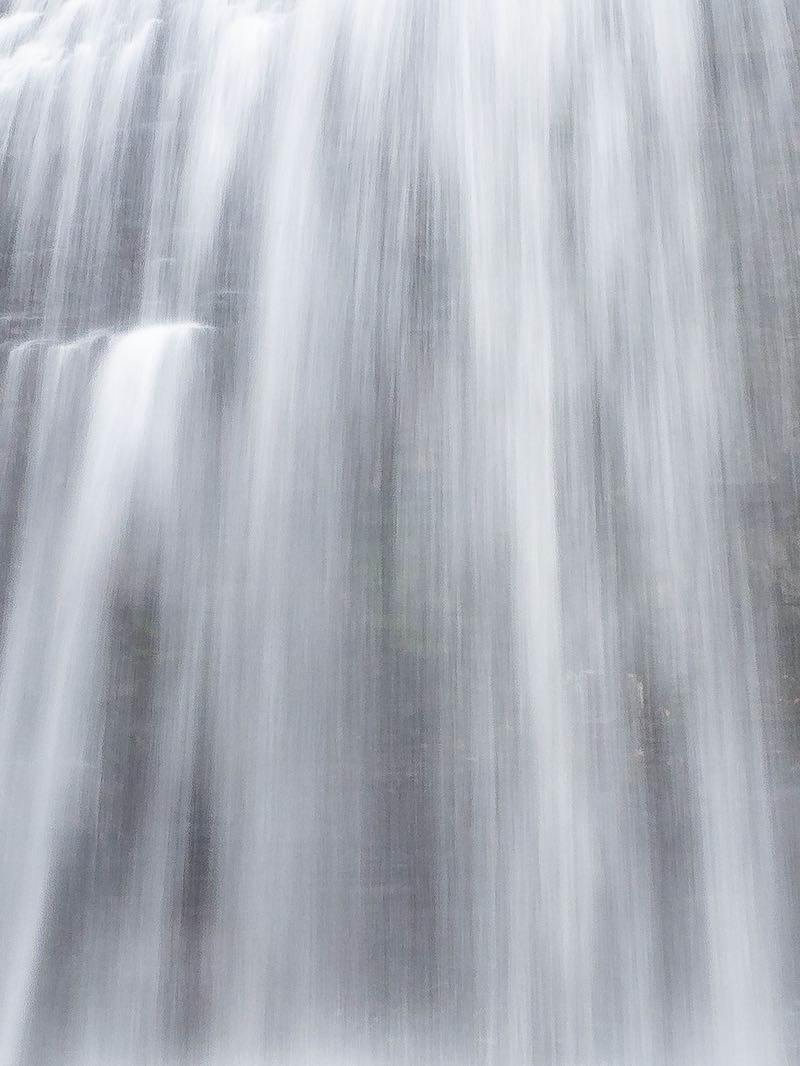
These photographs are not fake! When a camera shutter is left open for a long time it causes anything that is moving to blur across the image.
The effect was discovered 100 years ago, way before Photoshop and computers alike! Back then, photographers sometimes had to leave the lens shutter open for a long time to get enough light.
Some people love it, others hate it. Personally, I think that has its place. It does make some images softer on the eyes. This is good for some falls but not others.


Being able to acheive this effect has long been a right-of-passage for many waterfall photographers. It shows that the photographer is doing something more advanced than most other people. Up until very recently, you needed advanced skill and better equipment to pull it off.
This is changing now that cell phones can simulate the effect. But cell phone results don't look as good. Look closely; you will see artifacts in what is normally a smooth jet of water. A real cameras still wins! ... for now.
My experience has taught me that smaller, more delicate waterfalls with less flow can benefit most from this technique. In contrast, big powerful waterfalls usually don't. We normally want to convey that power in our image, which includes the spray, mist and chaos.


You can try this effect if your camera allows you to adjust the exposure settings. You want an exposure time of about 1/8th second or longer. Most regular photos are shot with split second exposures, like 1/250th or 1/1000th of a second.
To get such a long exposure, you need to limit the amount of light getting into the camera. Otherwise, the extended time that light enters your camera will result in an overexposed, even white image.
You can choose a very small f/stop, like f/11 or f/16. You may also need something called an ND filter, which sites on the outside of your camera and acts like a pair of sunglasses. You can also shoot near dusk. Each of these steps will reduce the light getting to your camera, and necessitate the use of a longer exposure to compensate. Learn more...
The following tips are the result of denial and error over the past 25 years of photographing waterfalls.


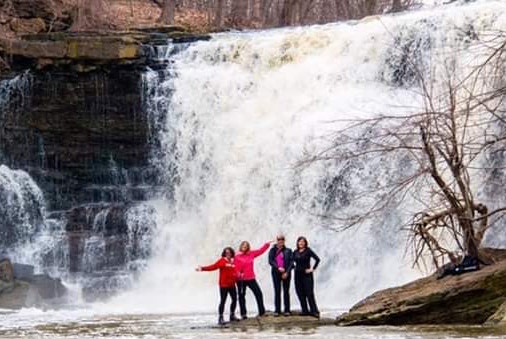
Join our Facebook community to share tips, photos and updates. Operating since 2011, this well-moderated, respectful, and informative group is the hub of Ontario's waterfalling community. (Photo by Martin Van Opstal)
